

Welcome to my VFR750F build. I know what kind of bike I want to build, but it's hard to say if it will eventually fit into the Streetfighter / Naked / Cafe-Racer. Below is my current concept:
![Image]()
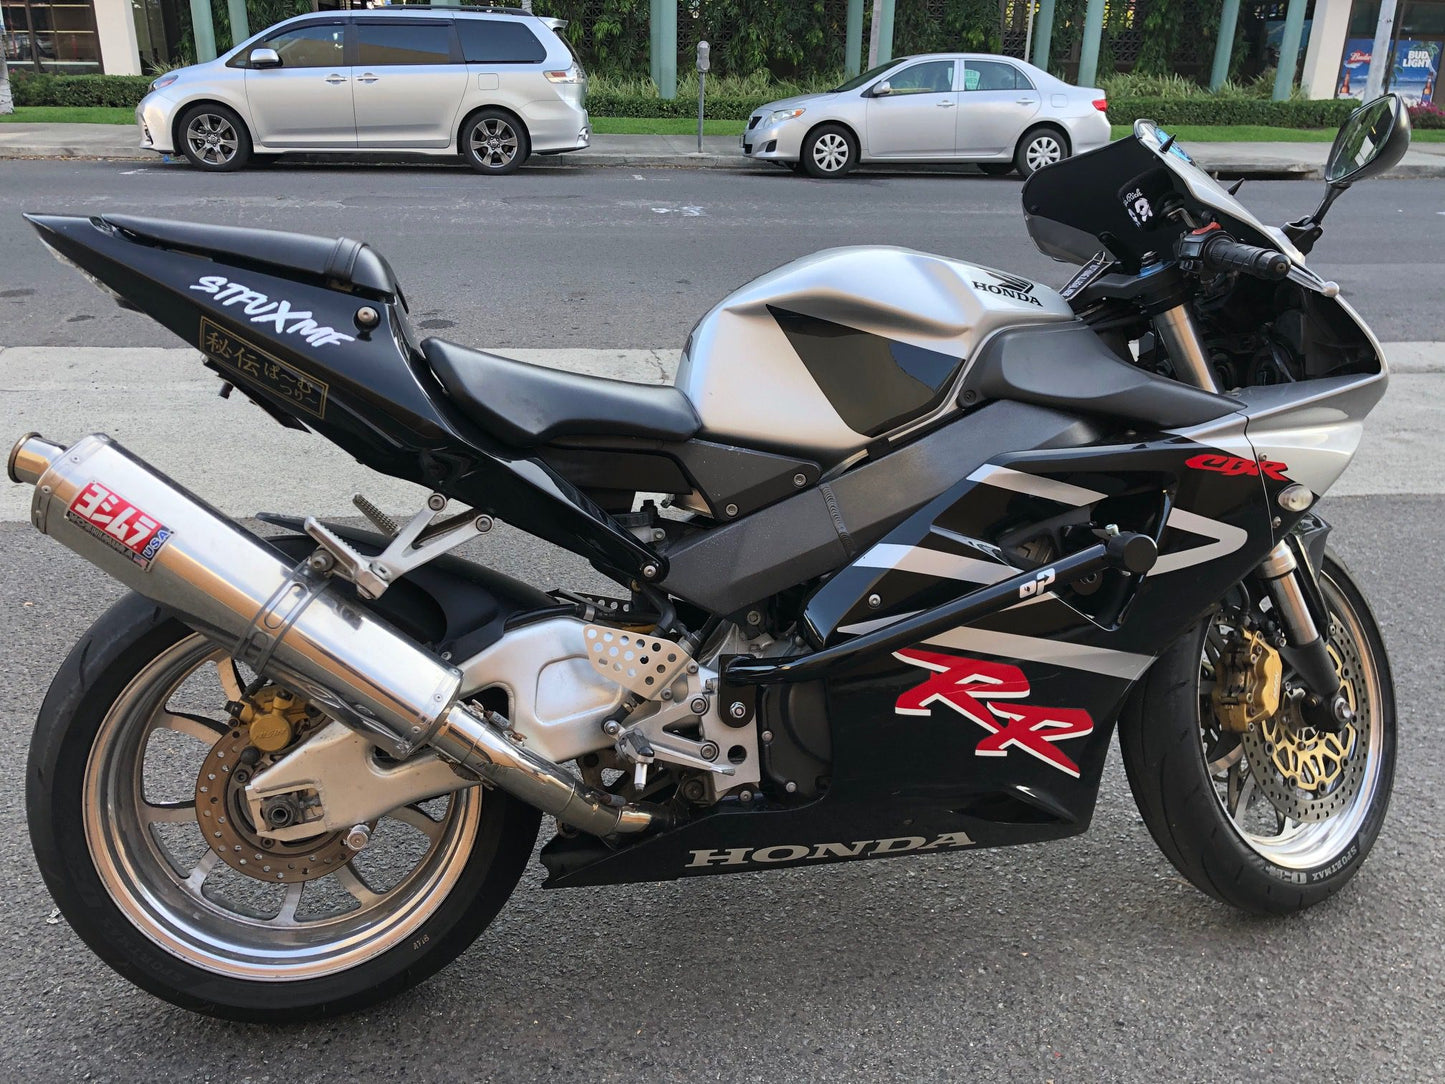
After having had a CBR650R (4 Cylinder) and then a 1050cc Triumph Speed Triple (3 Cylinder) I was looking for a naked bike with with good power but also decent revs, and the allure of the sound of V4 engines in MotoGP seemed like another ideal to add to the target bike. Searching for naked 4V motorcycles brings up Ducati Streetfigher 4V or Aprilia Tuono both of which are out of budget and not particularly classic looking, but what I also stumbled across in my 4V searching was the good old VFR750...and ugly but well regarded sport touring bike. I found a bike, price was right that's where it started.
![Image]()
The objectives for the biker were:
![Image]()
After having had a CBR650R (4 Cylinder) and then a 1050cc Triumph Speed Triple (3 Cylinder) I was looking for a naked bike with with good power but also decent revs, and the allure of the sound of V4 engines in MotoGP seemed like another ideal to add to the target bike. Searching for naked 4V motorcycles brings up Ducati Streetfigher 4V or Aprilia Tuono both of which are out of budget and not particularly classic looking, but what I also stumbled across in my 4V searching was the good old VFR750...and ugly but well regarded sport touring bike. I found a bike, price was right that's where it started.
The objectives for the biker were:
- Have and enjoy a project
- Learn about rebuilding forks, single sided sing arm, bearings, refinishing metal parts ecetera
- Bike needs to have some built in storage for wallet/phone/cap...typical things that you take on a bike
- Motogaget M-Unit Blue controlled so the bike can be started and stopped without a key
- Appearance, hopefully, look a classic as possible and ideally taking queue from a Ducati Sport Classic
- Bonus, as a carburetted bike with a V4 engine, enjoy an awesome engine noise

")


