Custom Fighters - Custom Streetfighter Motorcycle Forum banner

My Big Build

1 reading
179K views 992 replies 71 participants last post by  CK 187  
#1 ·
Decided 30 years ago I was going to build my own frame.... unless immortality kicks in soon I better get my finger out

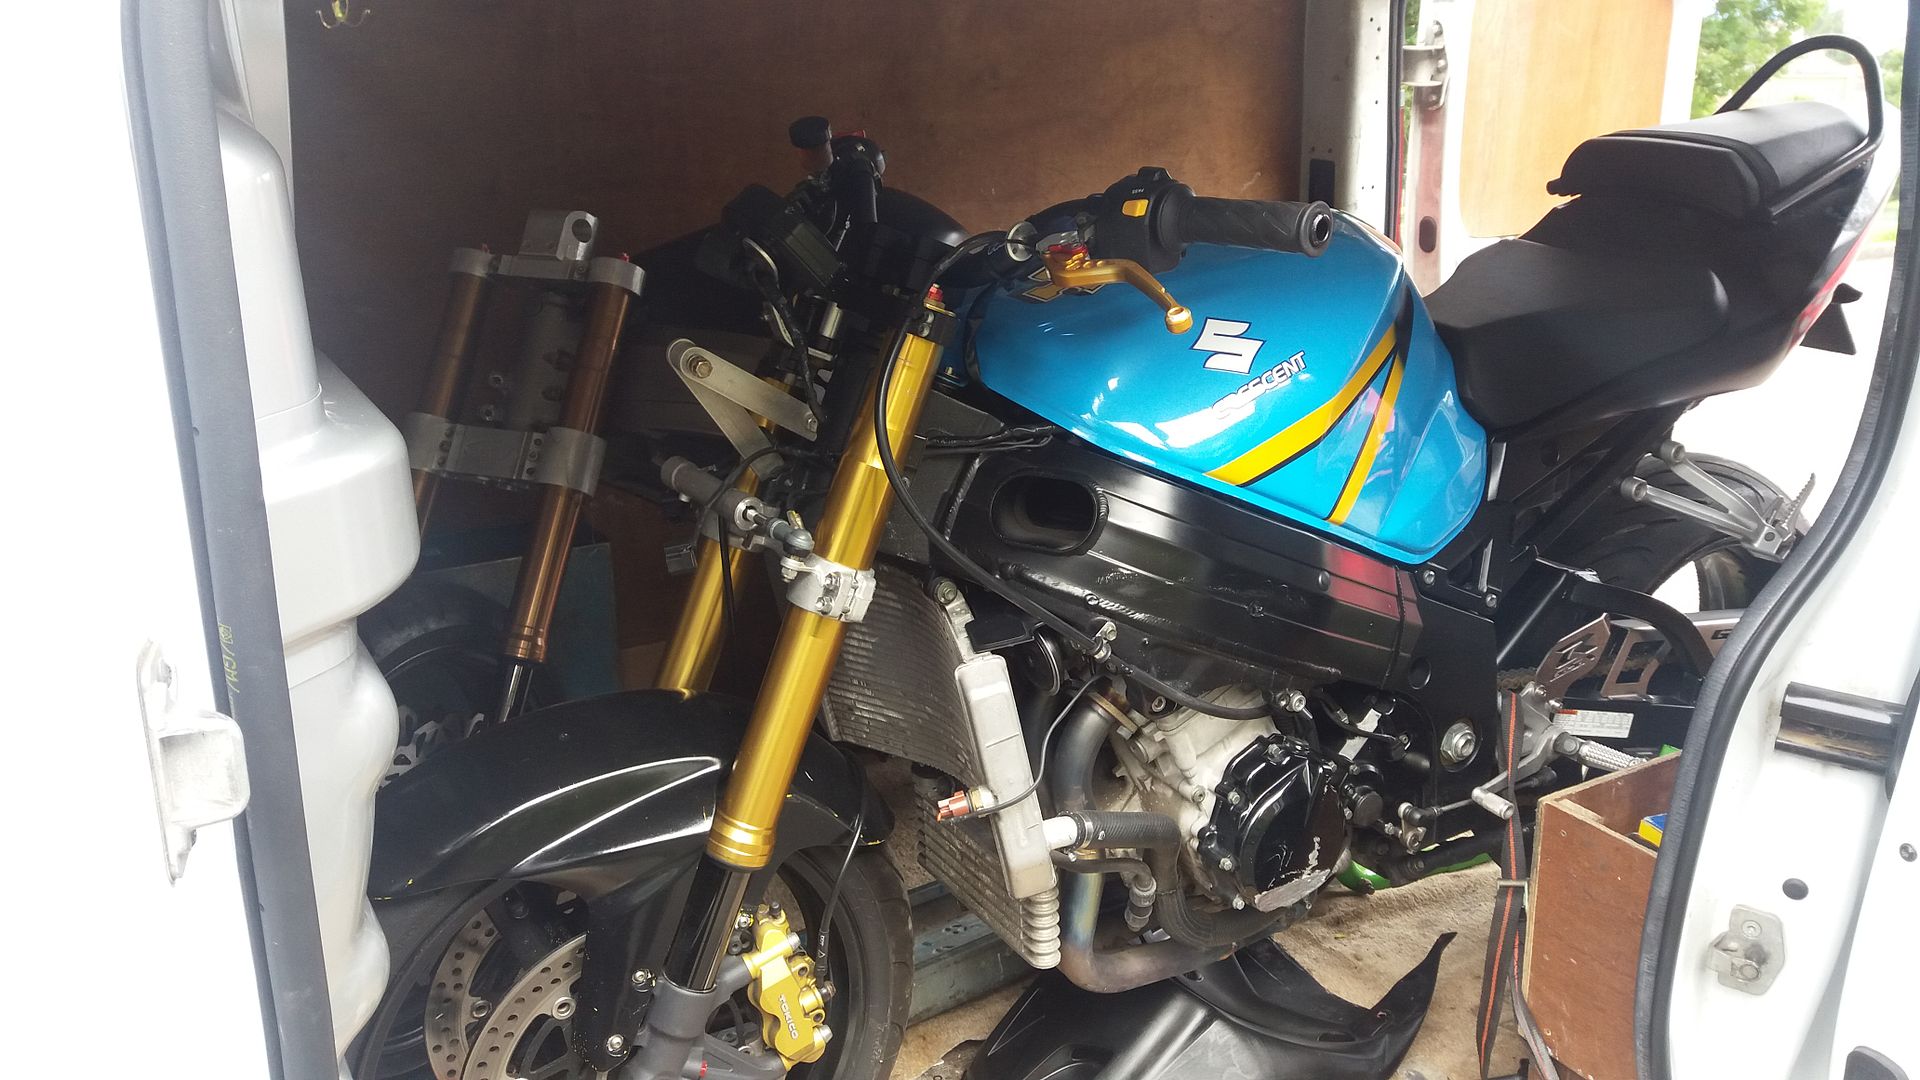
A friend was selling this for a good price


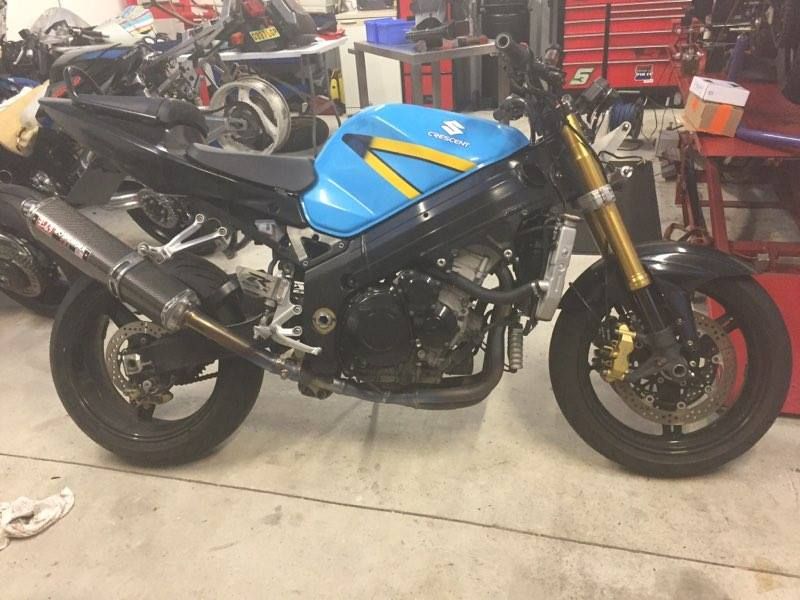
so after a long day of driving


So now that the Bandikat is put to bed I reckon the time is now


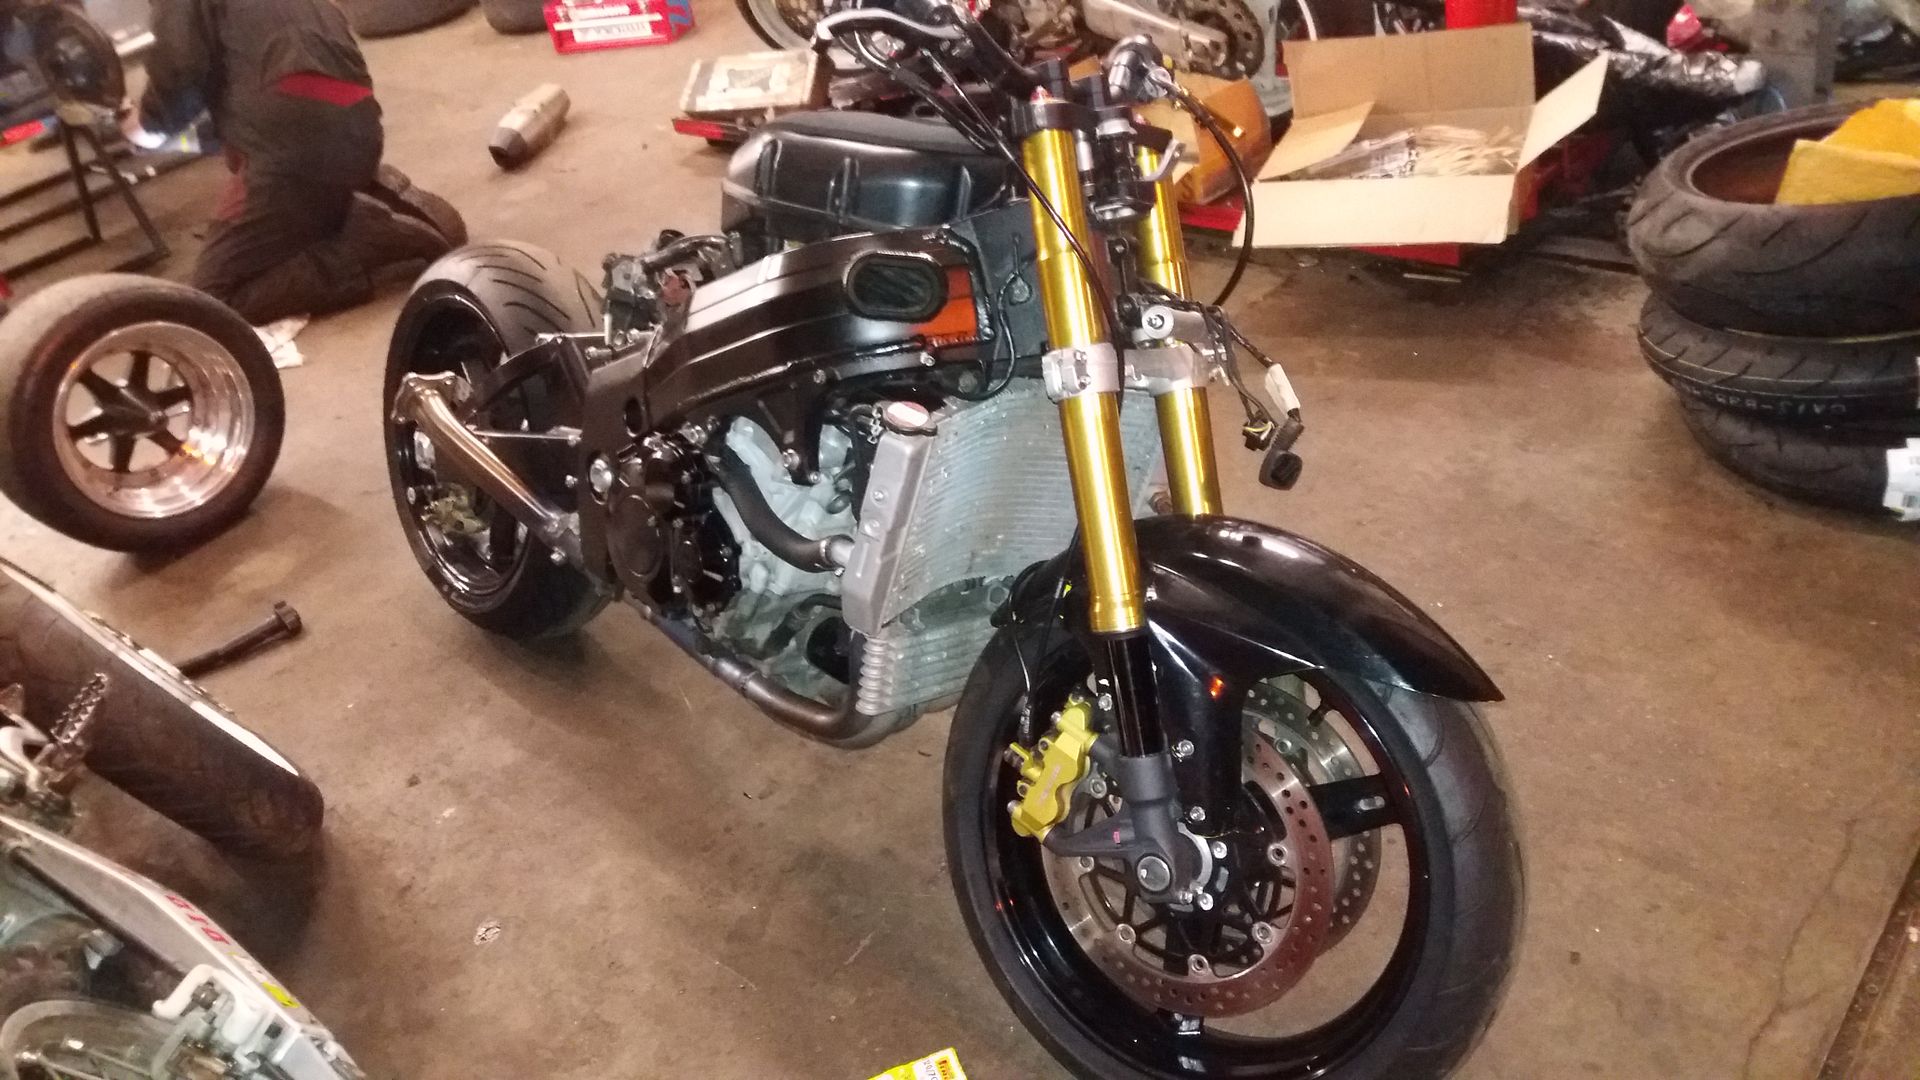
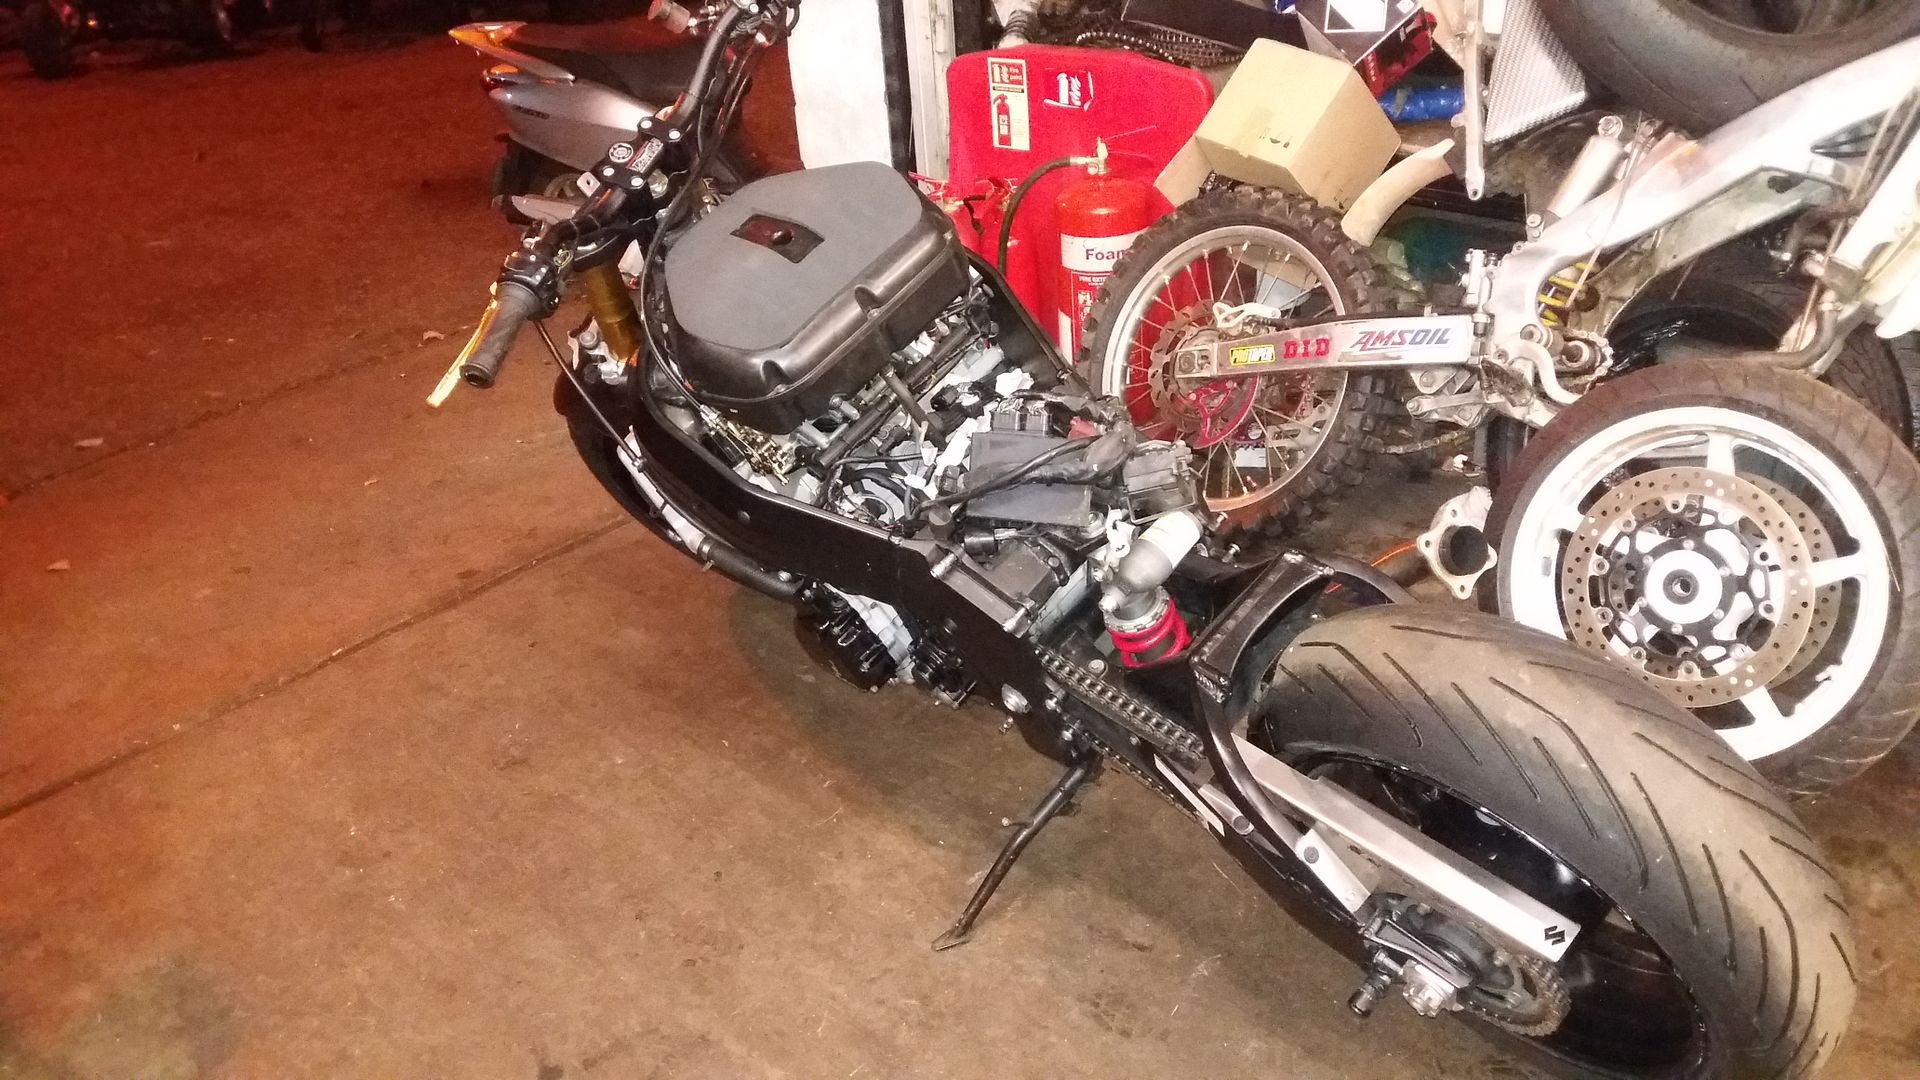
this will be a long term thang, to be honest the full frame thing is a little daunting,

in for a penny tho
 
#59 ·
the holes got drilled in the mounts, even remembered a spot to tie a side stand to


gave them a quick polish while I was at it too, they'll get another going over before welding

the opportunity arose to make a start on the first of the frame side plates , I actually thought I was going to finish one today, but alas .. no


pocket in for adjustable swing arm pivot


fitted spot on


then started machining the back face to suit


it'll end up here, hopefully by next weekend (although i do need to finish the CB)

 
#62 ·
bit more done to my loominum seahorse today, both sides machined and able to be mocked up in place . photo's are a bit shit, sorry


you can possibly see from here that it wouldn't actually be useable yet ; no way to get the engine bolt either in or out. I'll be cutting scallops out (keeping with the ocean theme) to suit the 14mm socket


i need to measure up for the lower suspension mount


and the mock up with the rough sizes for the top mount is about 10mm too short


the left hand engine mount will need to move a little , with the aid of a spacer , to allow the width of the adjustable shock mount


couple of jobs to do for friends so this can take a back seat for a couple of weeks now
 
#63 ·
Great build ! Really like the engineering so far. The CNC parts are going to make this bike have a cool mechanical look. Can't wait to see more.
 
#65 ·
still wouldn't be able to get a stud through 30mm of solid aluminium to reach the engine mount , the scallop for the socket was always in the plan, just going to mark the position once initially assembled to make sure it's in the right place.
 
#68 ·
that'll let a socket through to tighten the engine bolt, the remaining aluminium is still thicker than the tube thickness it'll be welded to


a better view of the through hole


while I was at it I profiled the tube location


the top tube will be profiled to suit the rad on the plate , and probably put flats between the two tubes.... I'll work that out soon

pic just a rough visual indication with some offcuts from the arm I made

 
#71 ·
the inserts for the swingarm mounts can be removed and replaced raising or lowering the pivot point by 5mm either way, when combined with adjustable top shock mount, the adjustable dogbones and the adjustable offset yokes they will hopefully let me sort any handling issues

that's the plan anyway
 
#70 ·
The notch to get to the engine mount and where the frame tube sits looks a little weak , would it not have been better to make it larger then notch the frame tube slide it over and weld around it , so as the plate sits in the the frame tube? This is not a criticism as there is no way I have the skills you have but just an observation, loving the build and keep the pictures coming.
 
#72 ·
those aren't the actual frame tubes, the frame tubes will be shaped to fit around the top of the side plate, the part of the side plate that has the notch in it is as much a guide for the rails as anything else, it wasn't initially in the design, I'm pretty confident that welding right round the lower tube to the side plate, then right round the top rail to the side plate then joining the 2 rails will be fine.

never fear tho, if I get that far and I'm not confident in it i'll re do it
 
#75 ·
redrew the mount, reckon it's nearer the mark, once both side plates are on i'll cut a trial template


friend turned a 24mm thread for me letting me start


got the first two flats cut at lunchtime today, then was able to pop it in the spark and cut the internal hex


the disc on the thread will end up as a trick locking nut
 
#87 ·
I think it will definetely be up there no doubt, you do stellar work man .

Thinking of laying down the composite bodywork yourself or source pre-made?

I've seen some very nice weaved patterns and colours in carbon-kevlar hybrids, would look insane tailored to the polished aluminium framework.


Sent from my SM-G935F using Tapatalk