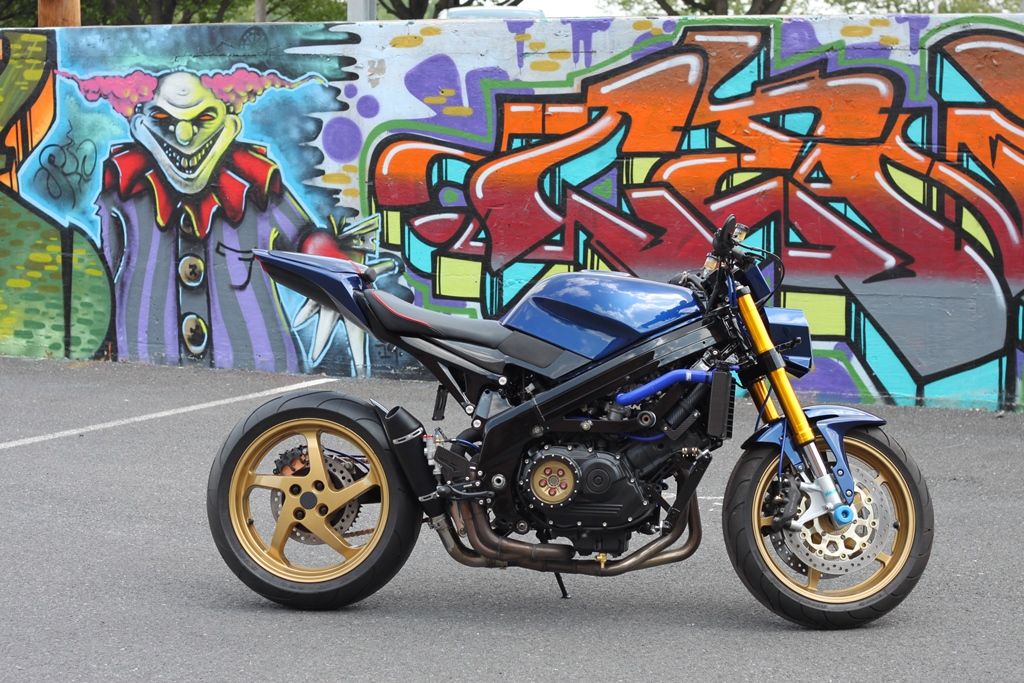
So, I finally finished it...
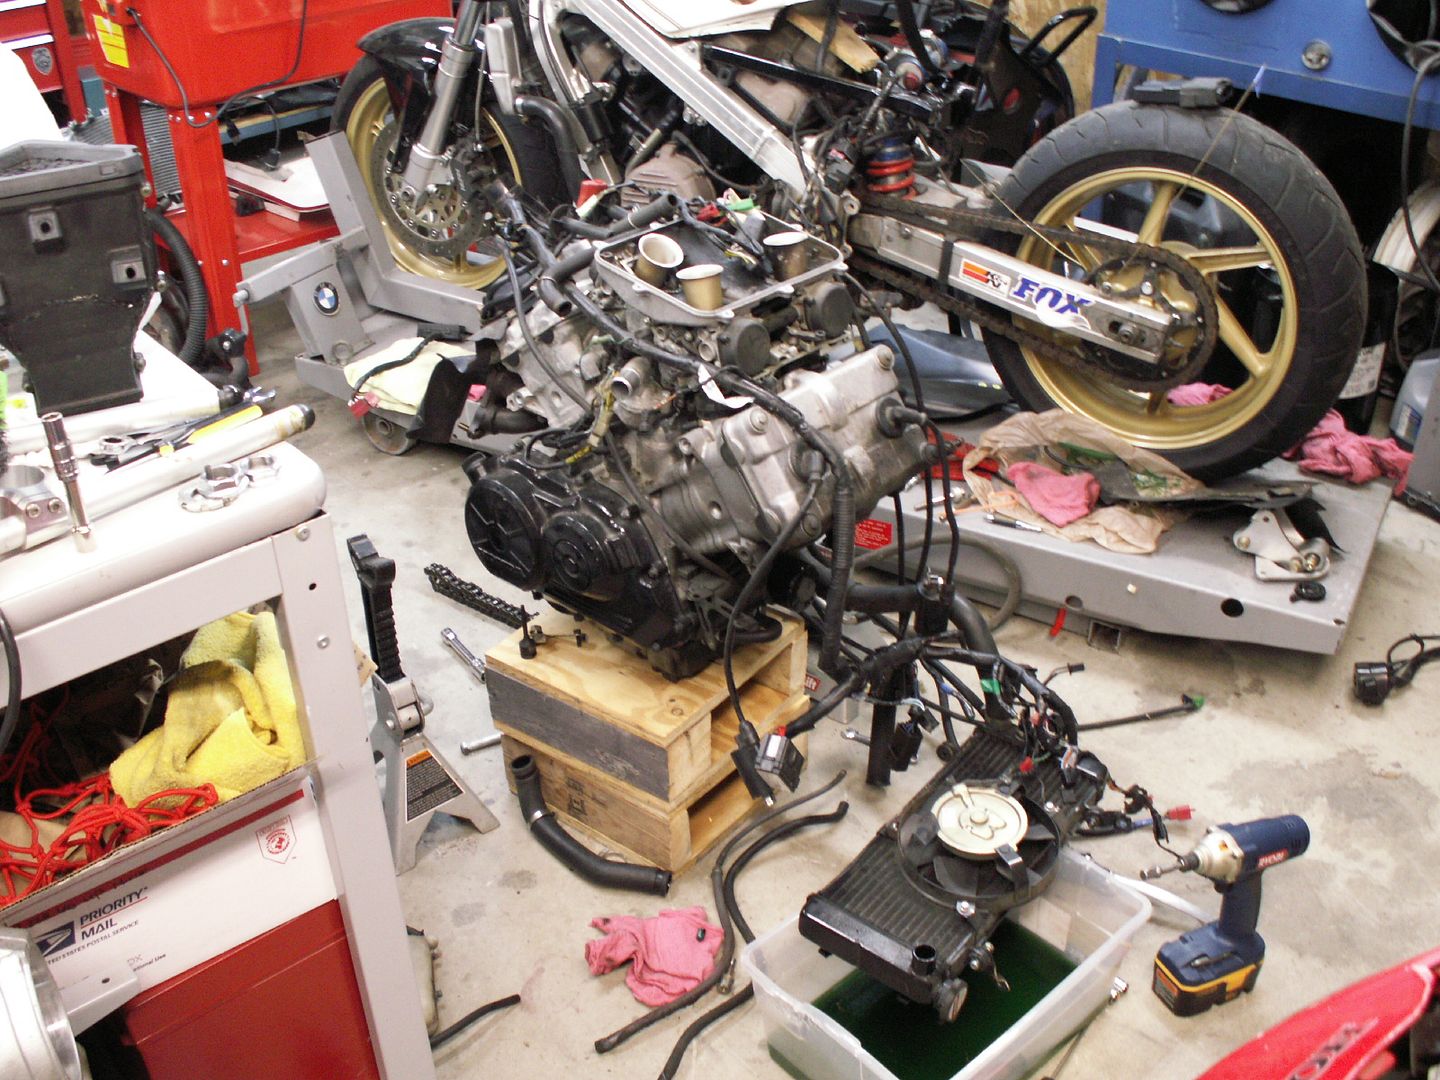
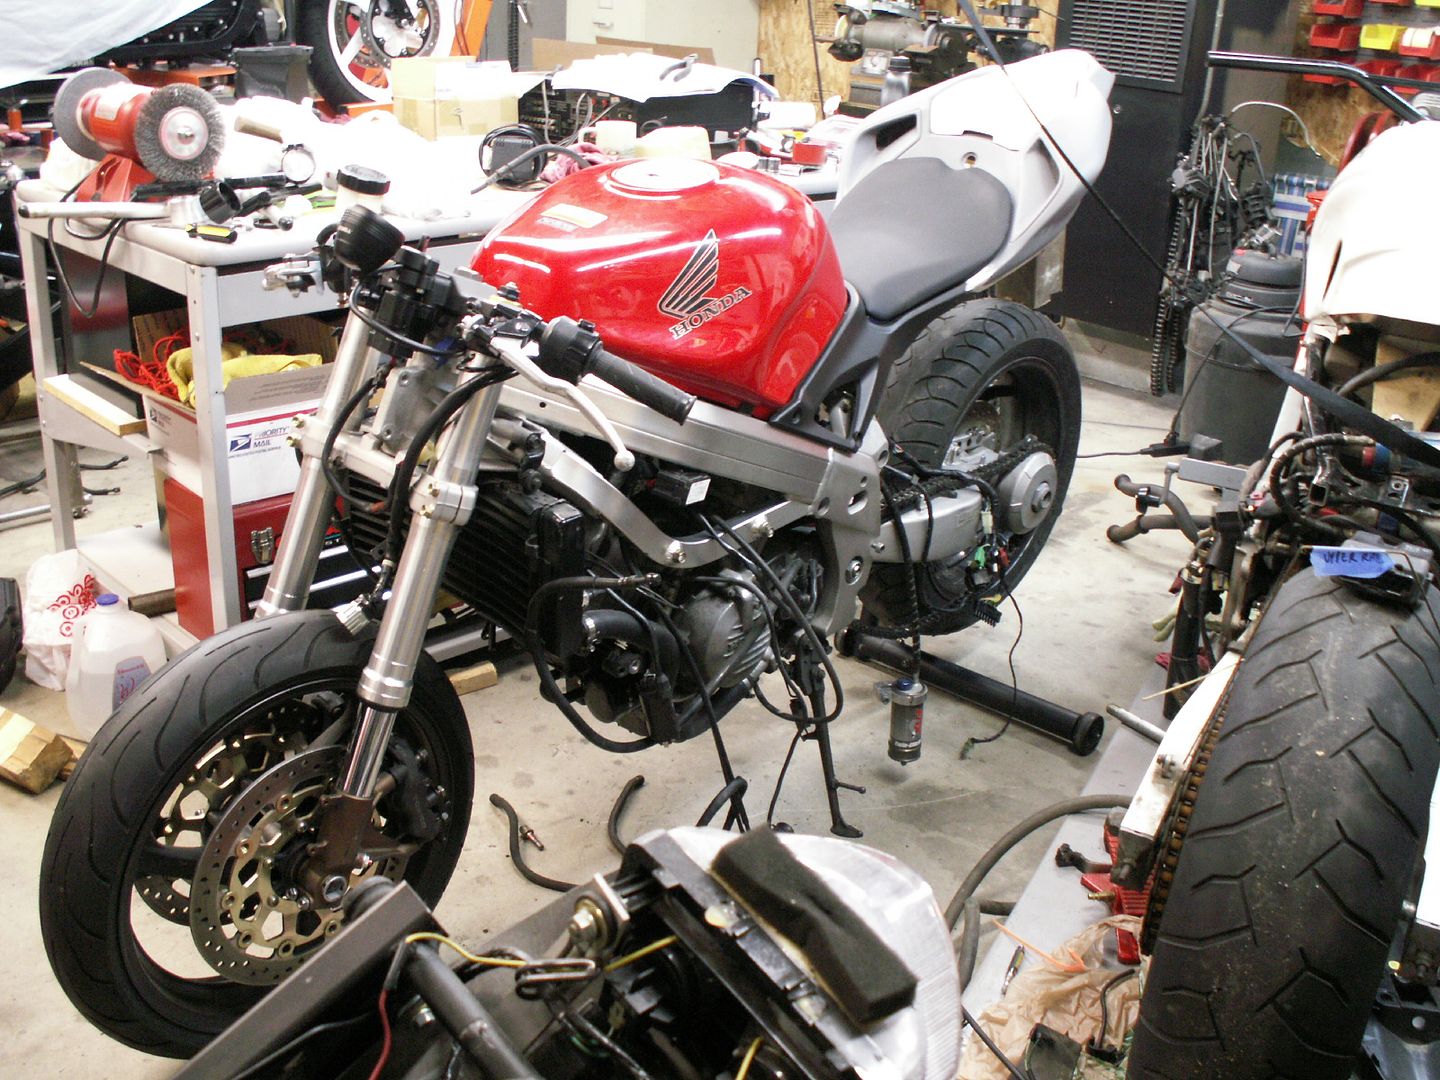
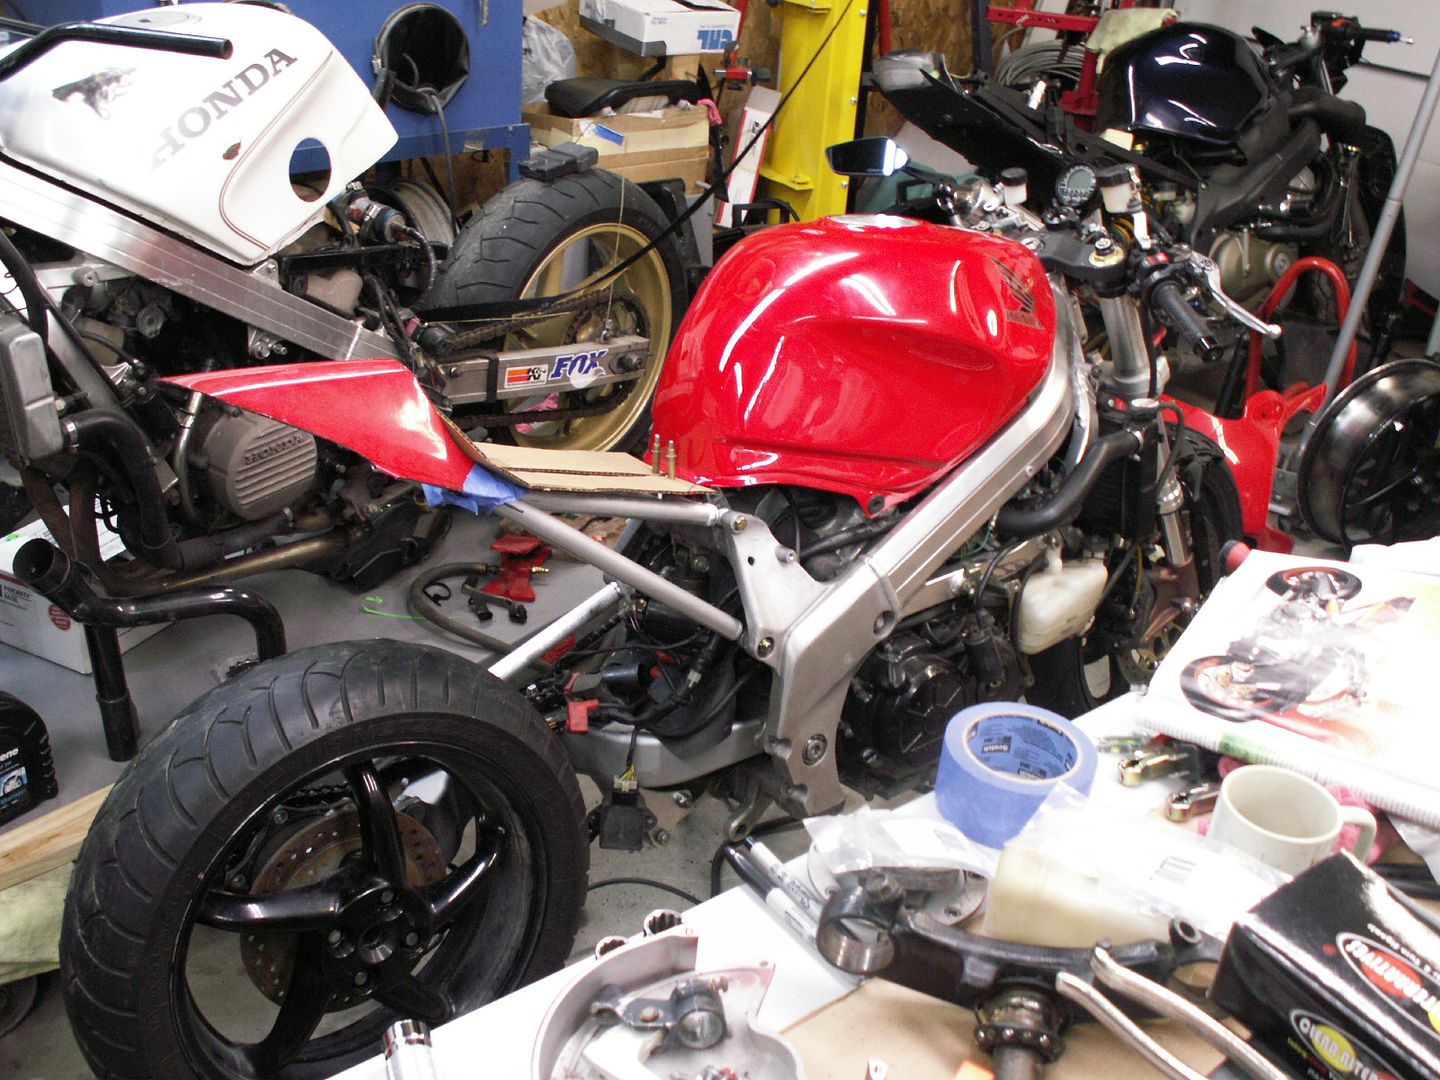
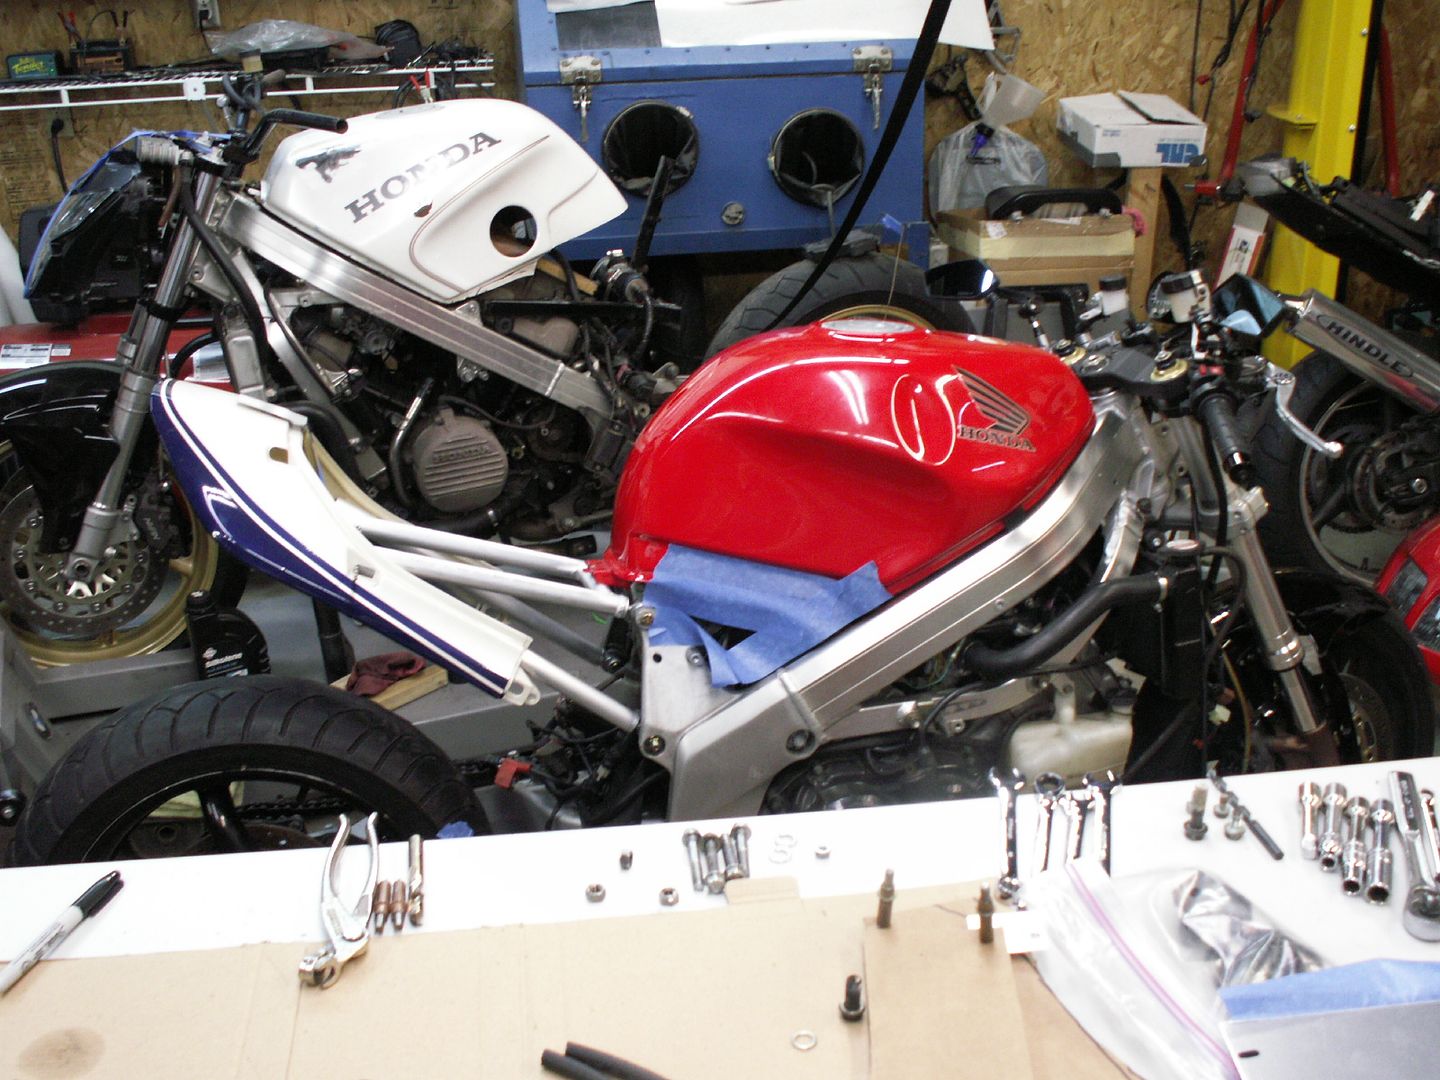
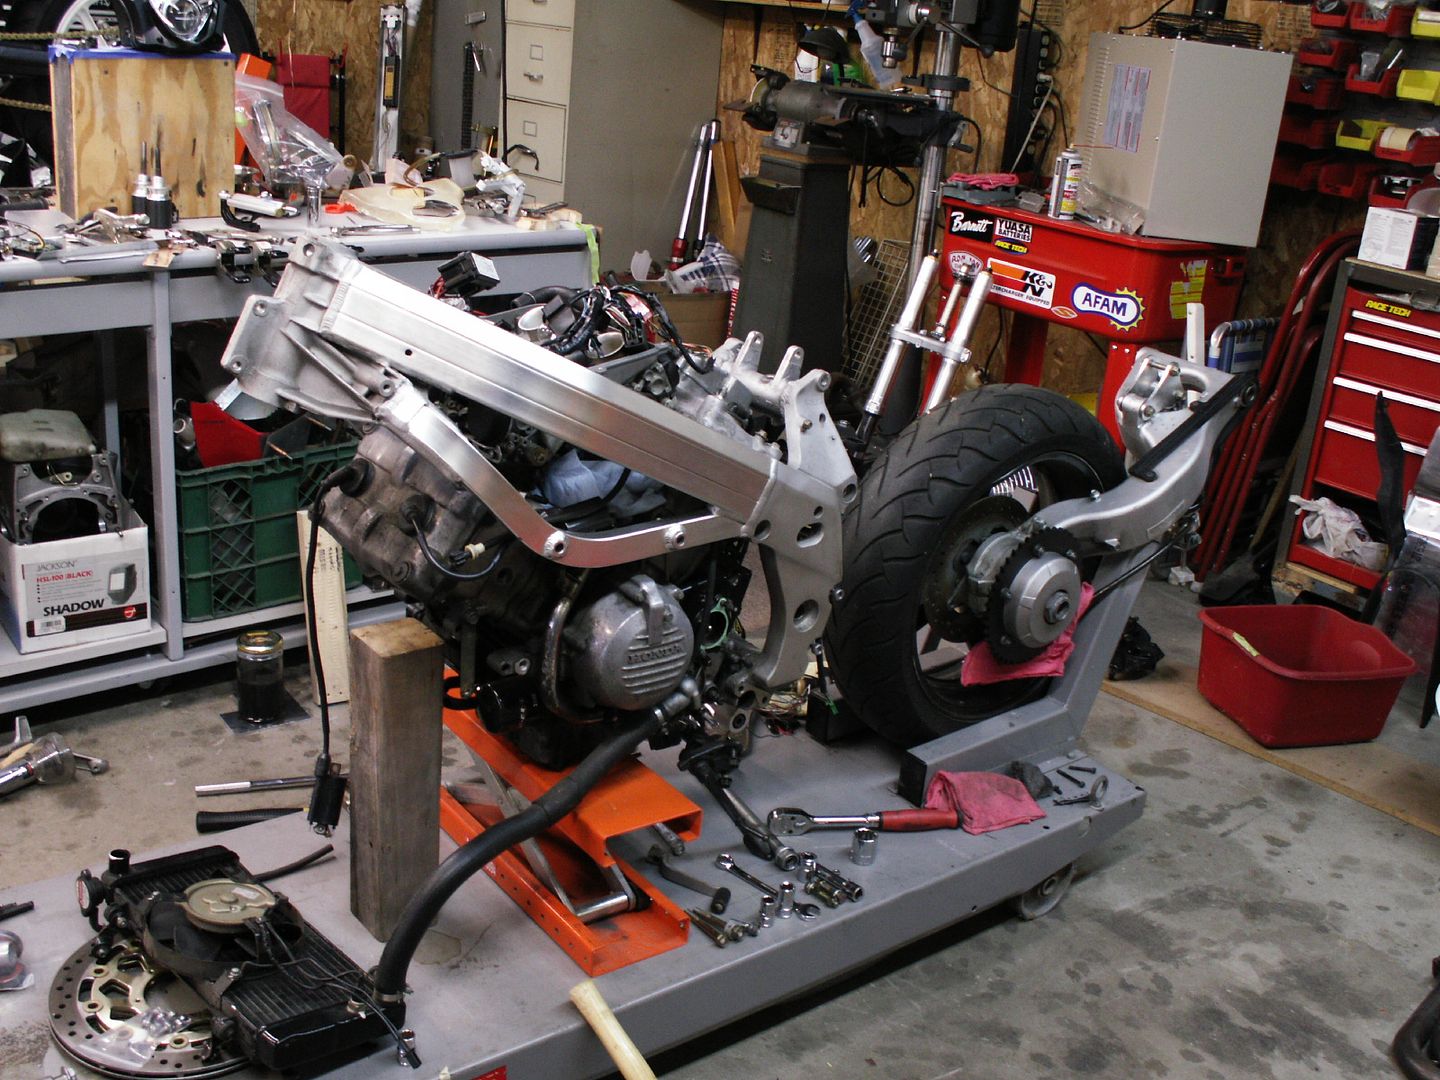
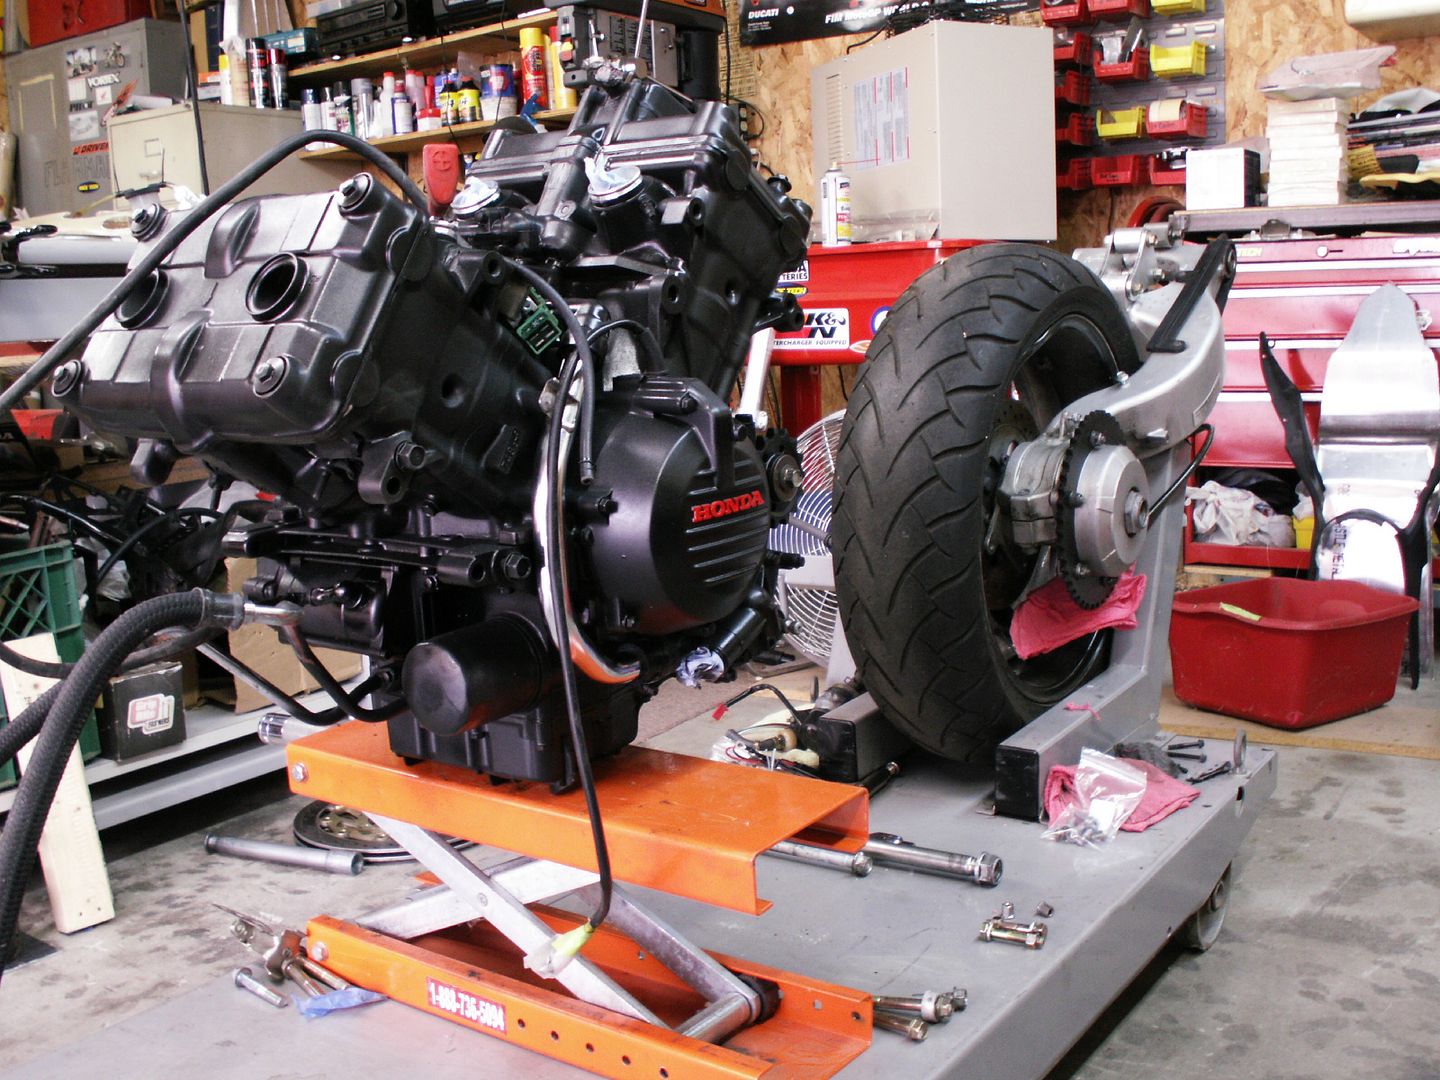
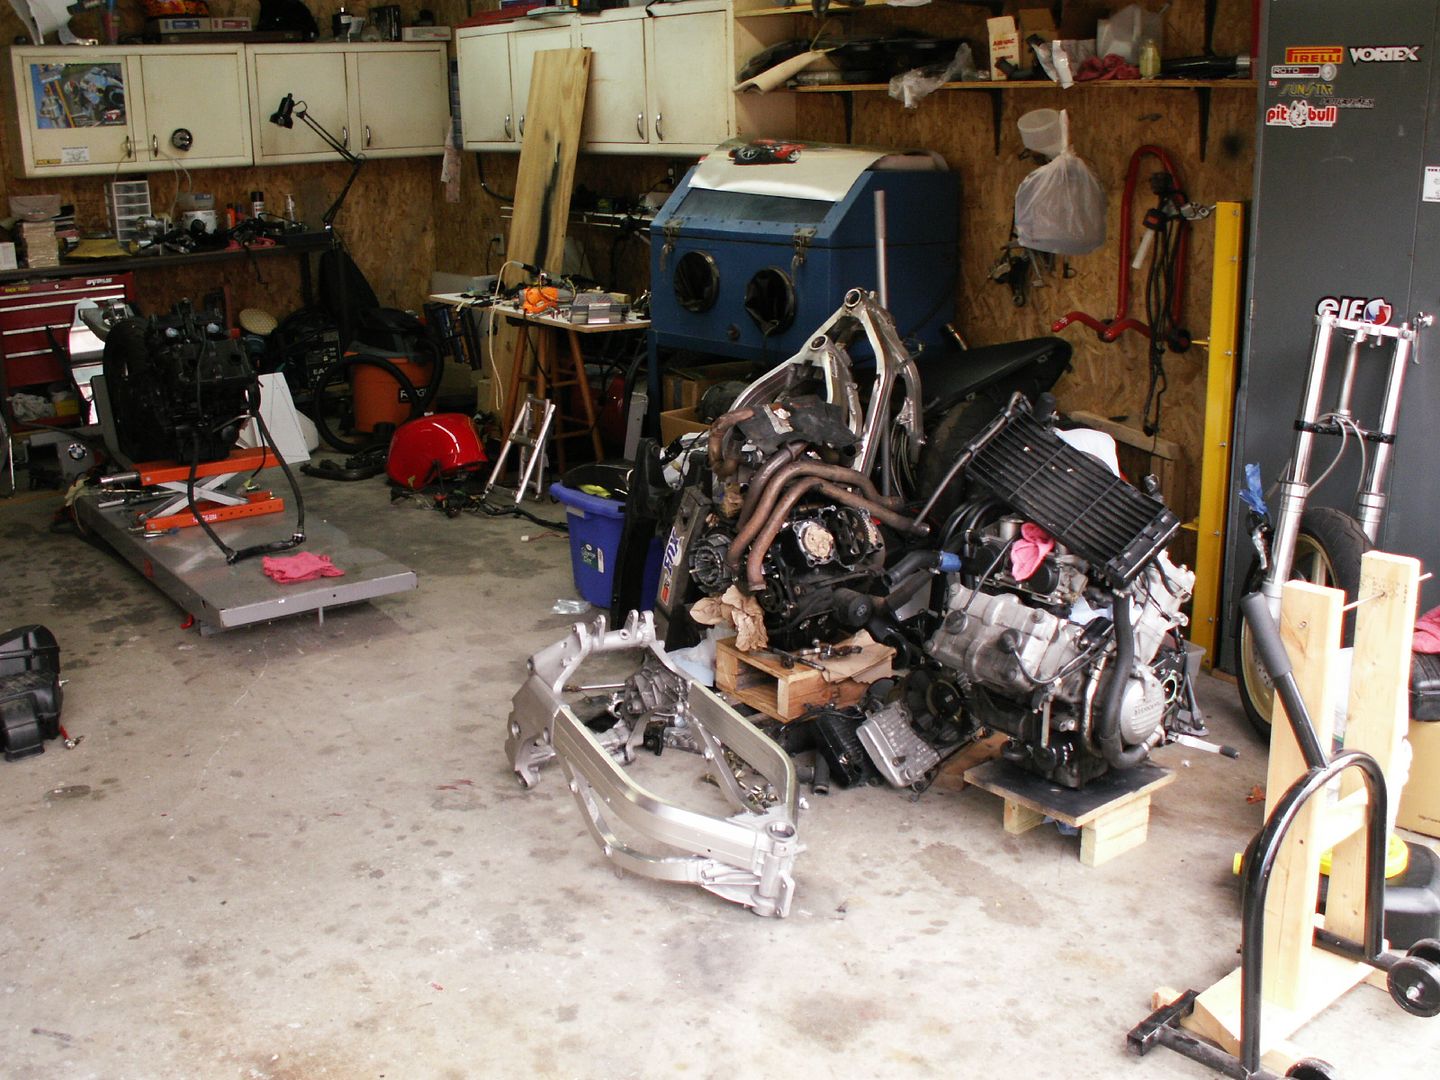
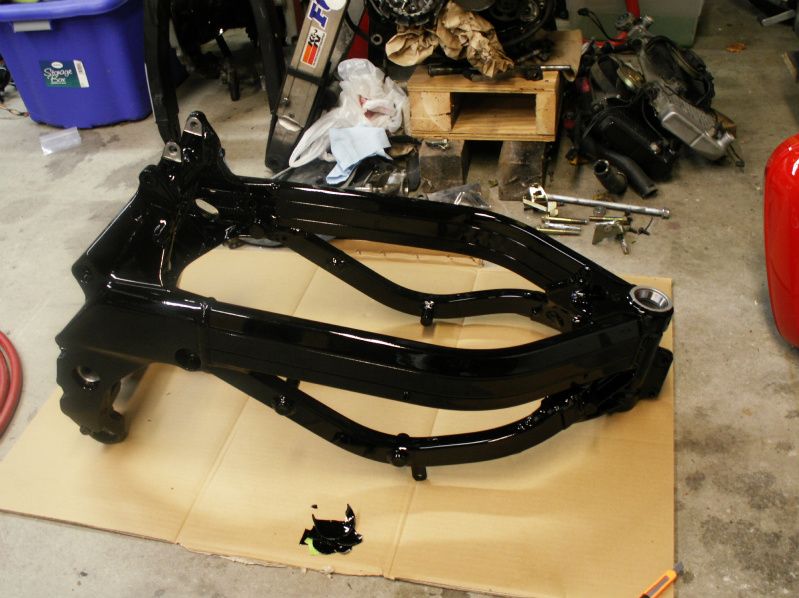
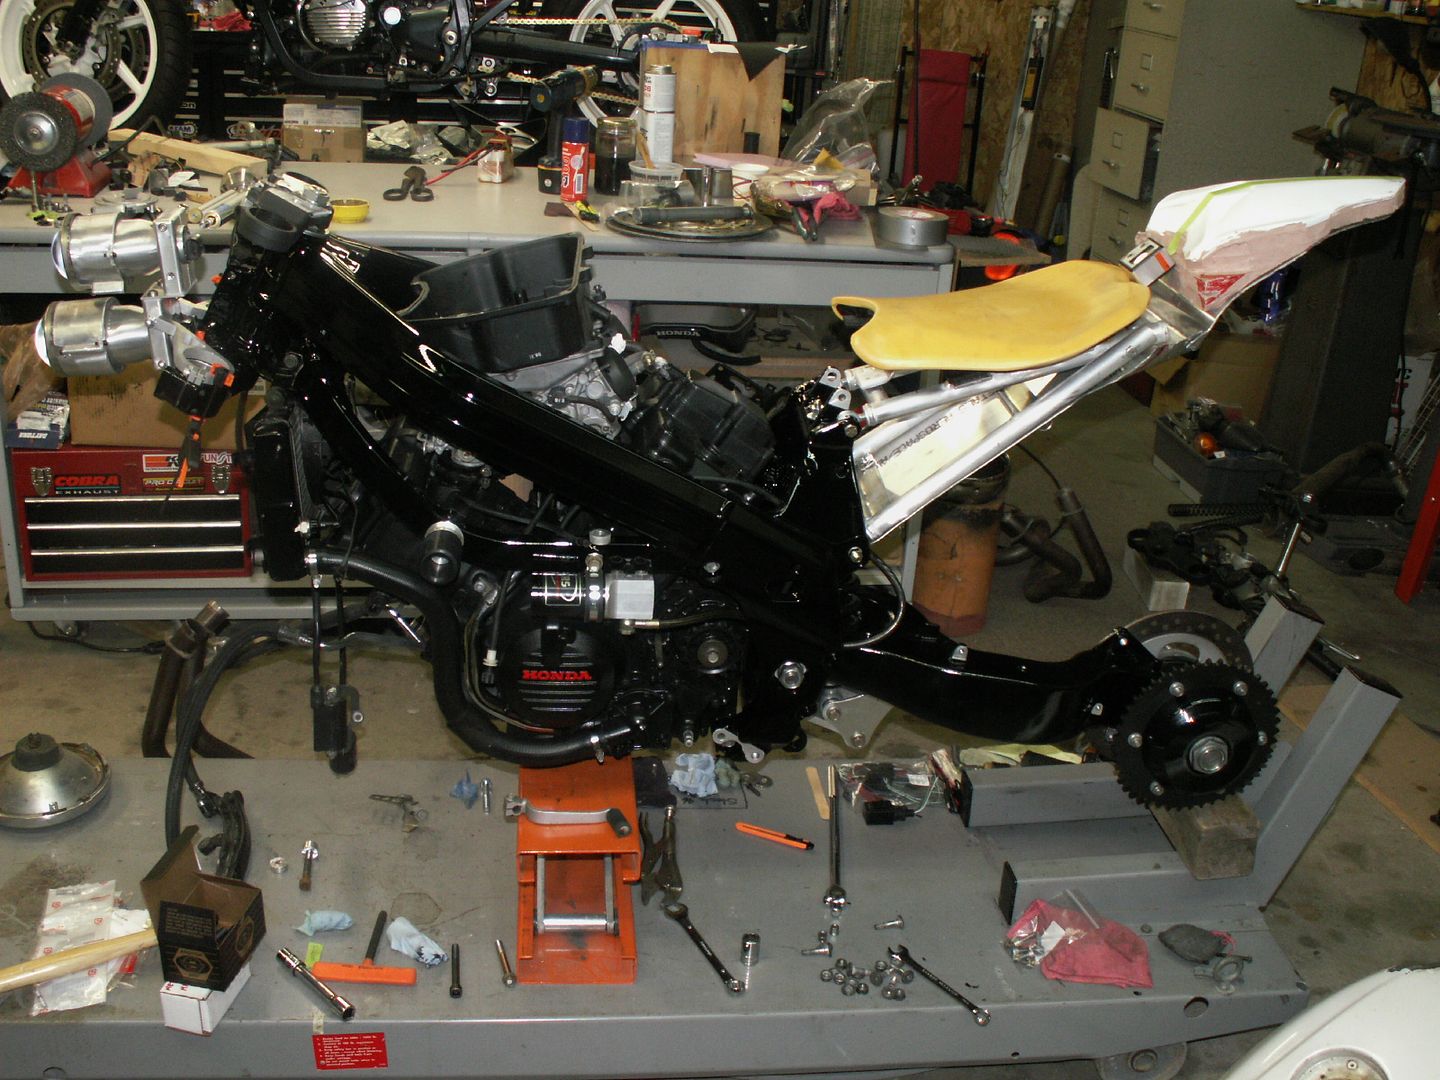
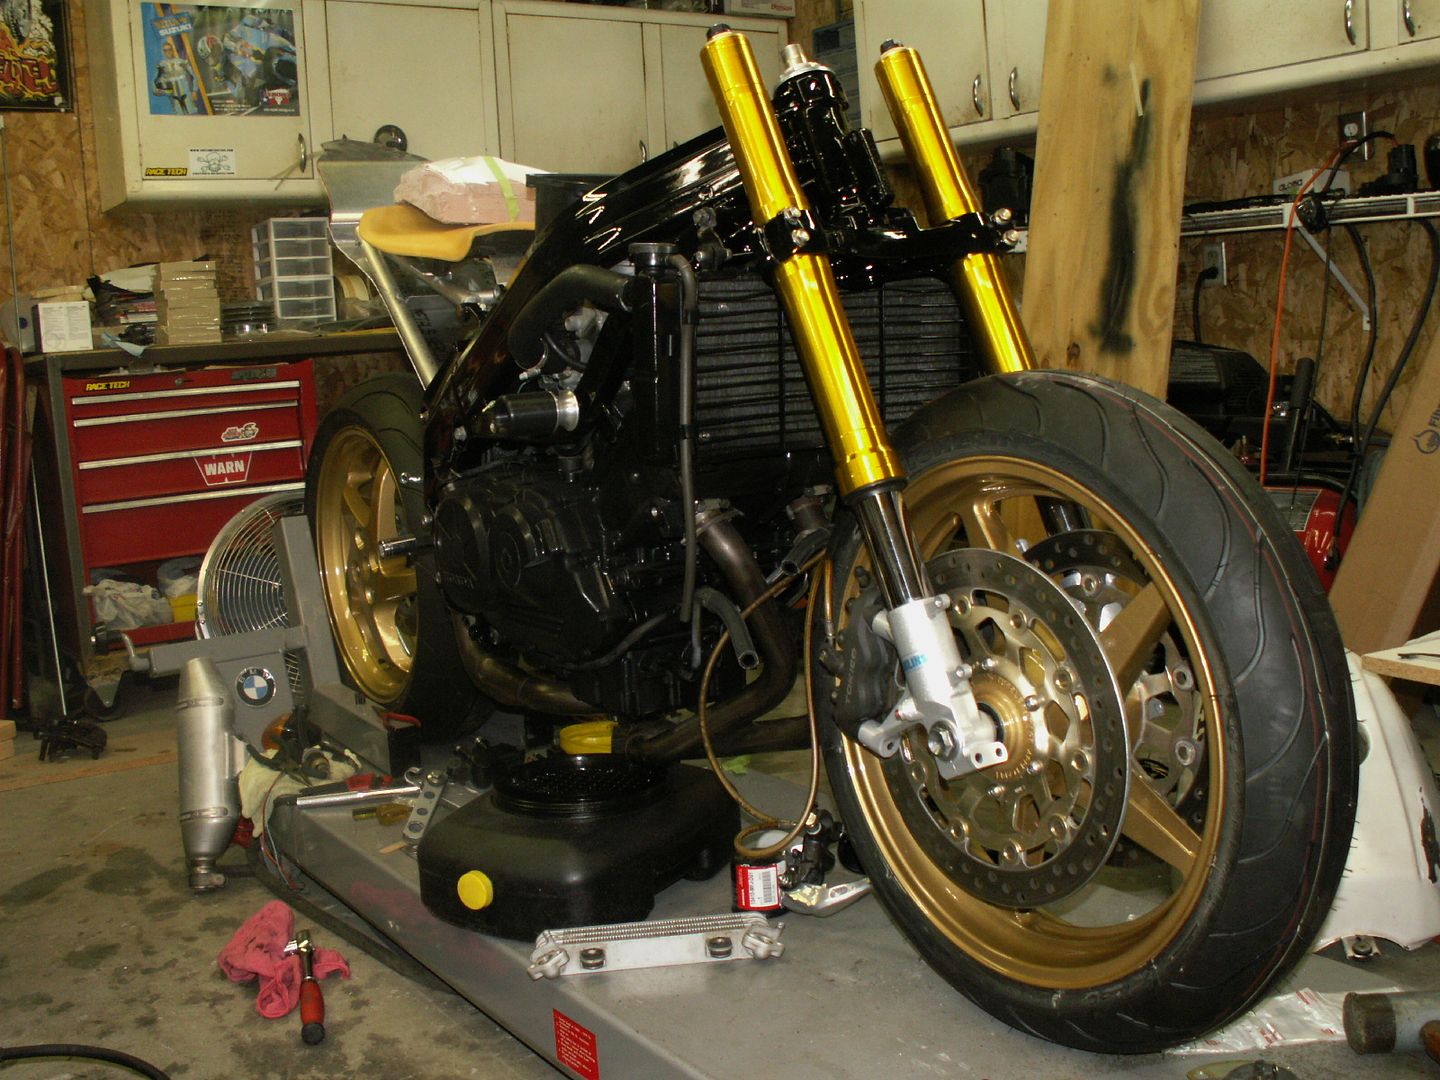
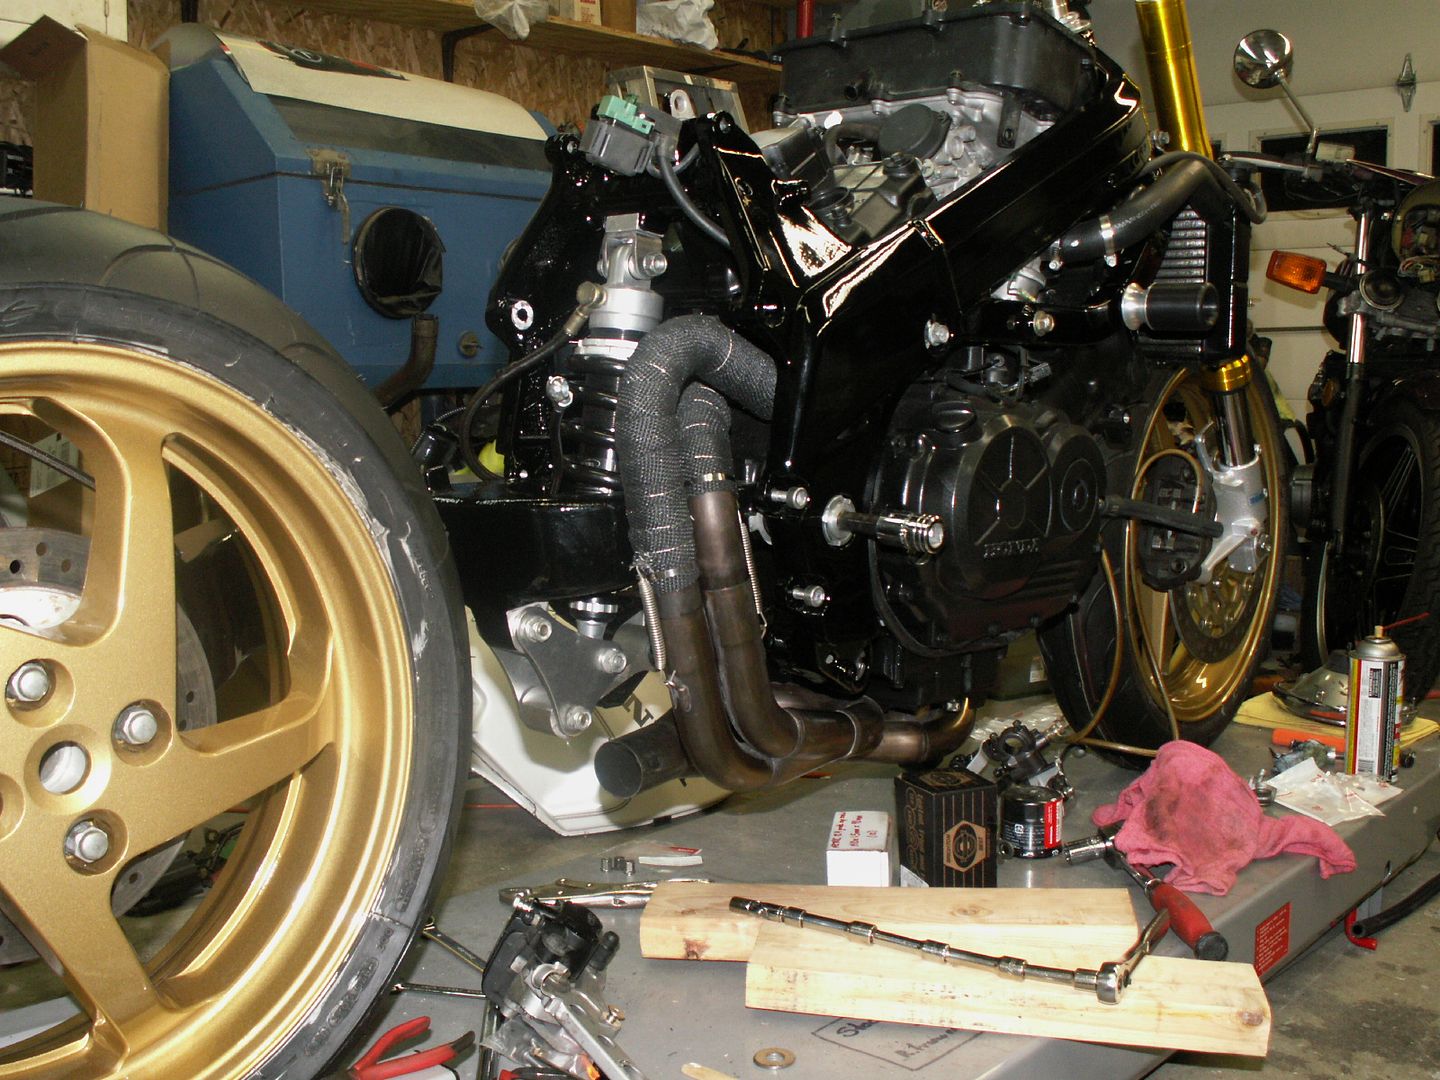
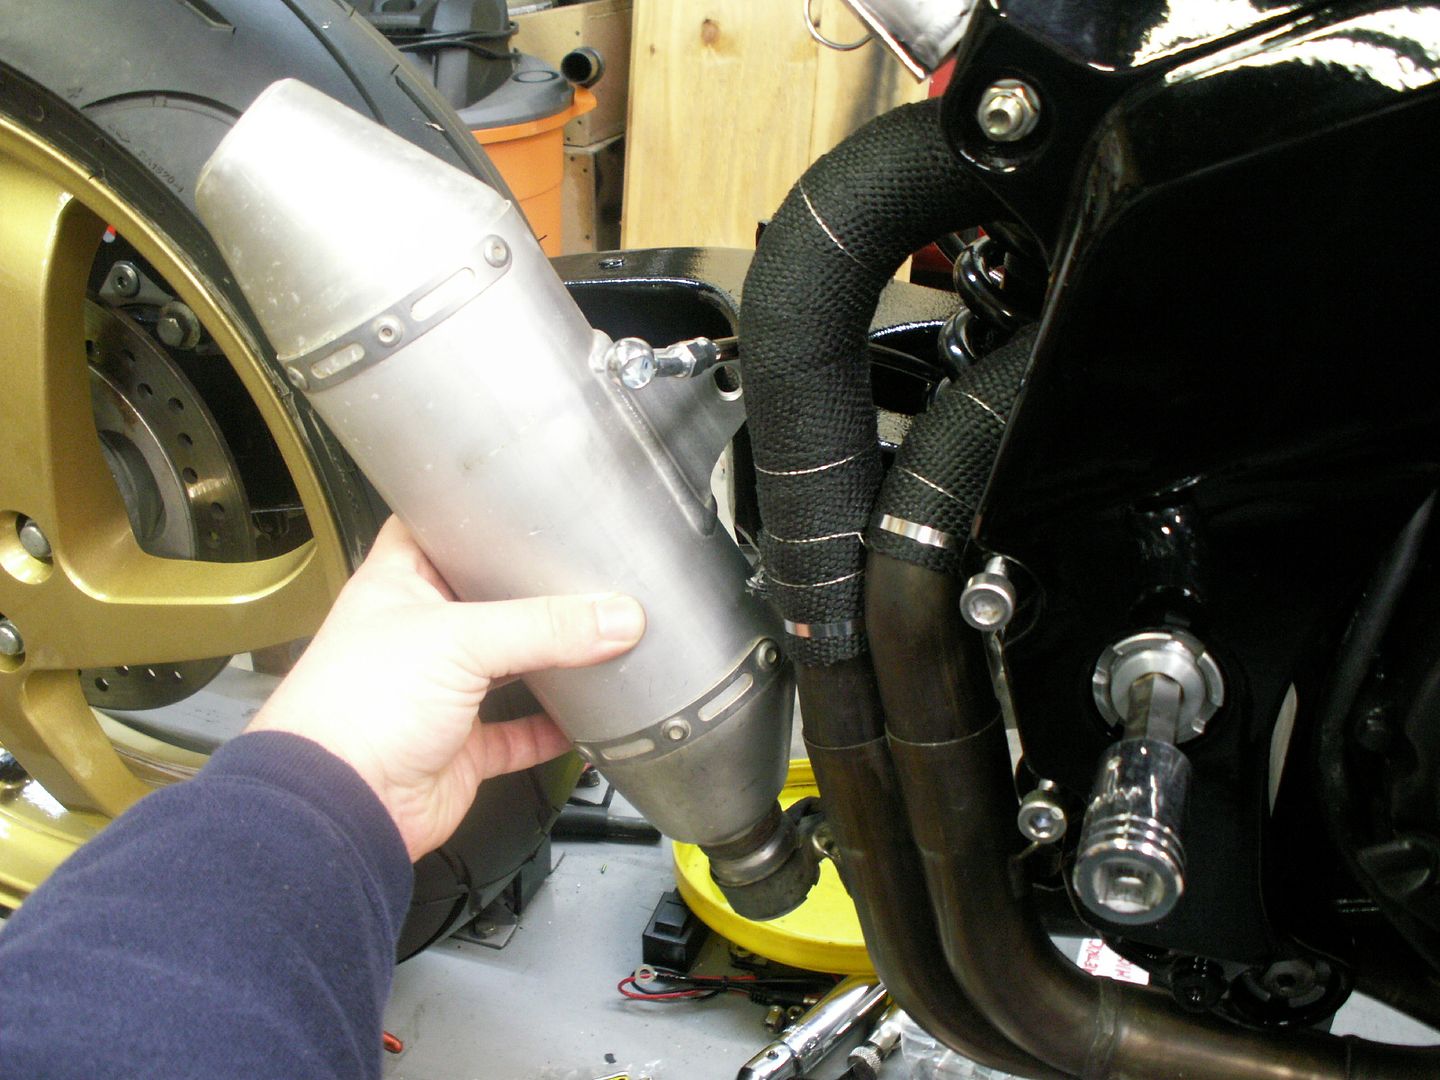
Scroll down for specs/build thread stuff/etc. I didn't blog the build in real time, but I took pics and notes as if I was.
![Image]()
![Image]()
![Image]()
![Image]()
![Image]()
![Image]()
![Image]()
![Image]()
![Image]()
Click this link for sound clip:
http://vid8.photobucket.com/albums/a49/SEBSPEED2003/20150521_204122_zpspzhd1bh8.mp4
Many more details and pics coming!
Scroll down for specs/build thread stuff/etc. I didn't blog the build in real time, but I took pics and notes as if I was.
Click this link for sound clip:
http://vid8.photobucket.com/albums/a49/SEBSPEED2003/20150521_204122_zpspzhd1bh8.mp4
Many more details and pics coming!
 arty-smiley: